I’ve wanted to make my own beauty products for a while to reduce my carbon footprint, but never quite had the willpower to find time find for it.
Cue starting up your own blog on what you’re doing about the climate crisis (nothing like a bit of self-inflicted social media pressure to give you a kick up the proverbial); add a little inspiration from a beautiful friend who made some for me a few years ago; combine with an idea to make the whole thing sociable and BAM!
Here comes my own version of how to make DIY homemade lip balm fun.
Recipe
I adapted this recipe from The Inspired Little Pot. It felt like a lovely simple and flexible recipe that I could tweak to how I wanted.
Everything on this list is 100% organic and palm-oil free – the two key criteria I had to hang my hat on, given palm oil production is currently contributing to the killing of orangetans and contributing to climate change in the Phillipines.
Prep time: About 10 minutes
Makes: 130 g | 4.6 oz (approximately 10 small containers)
Quantity tips:
To calculate how many pots this recipe will make, divide total grams by the capacity of your lip balm containers.
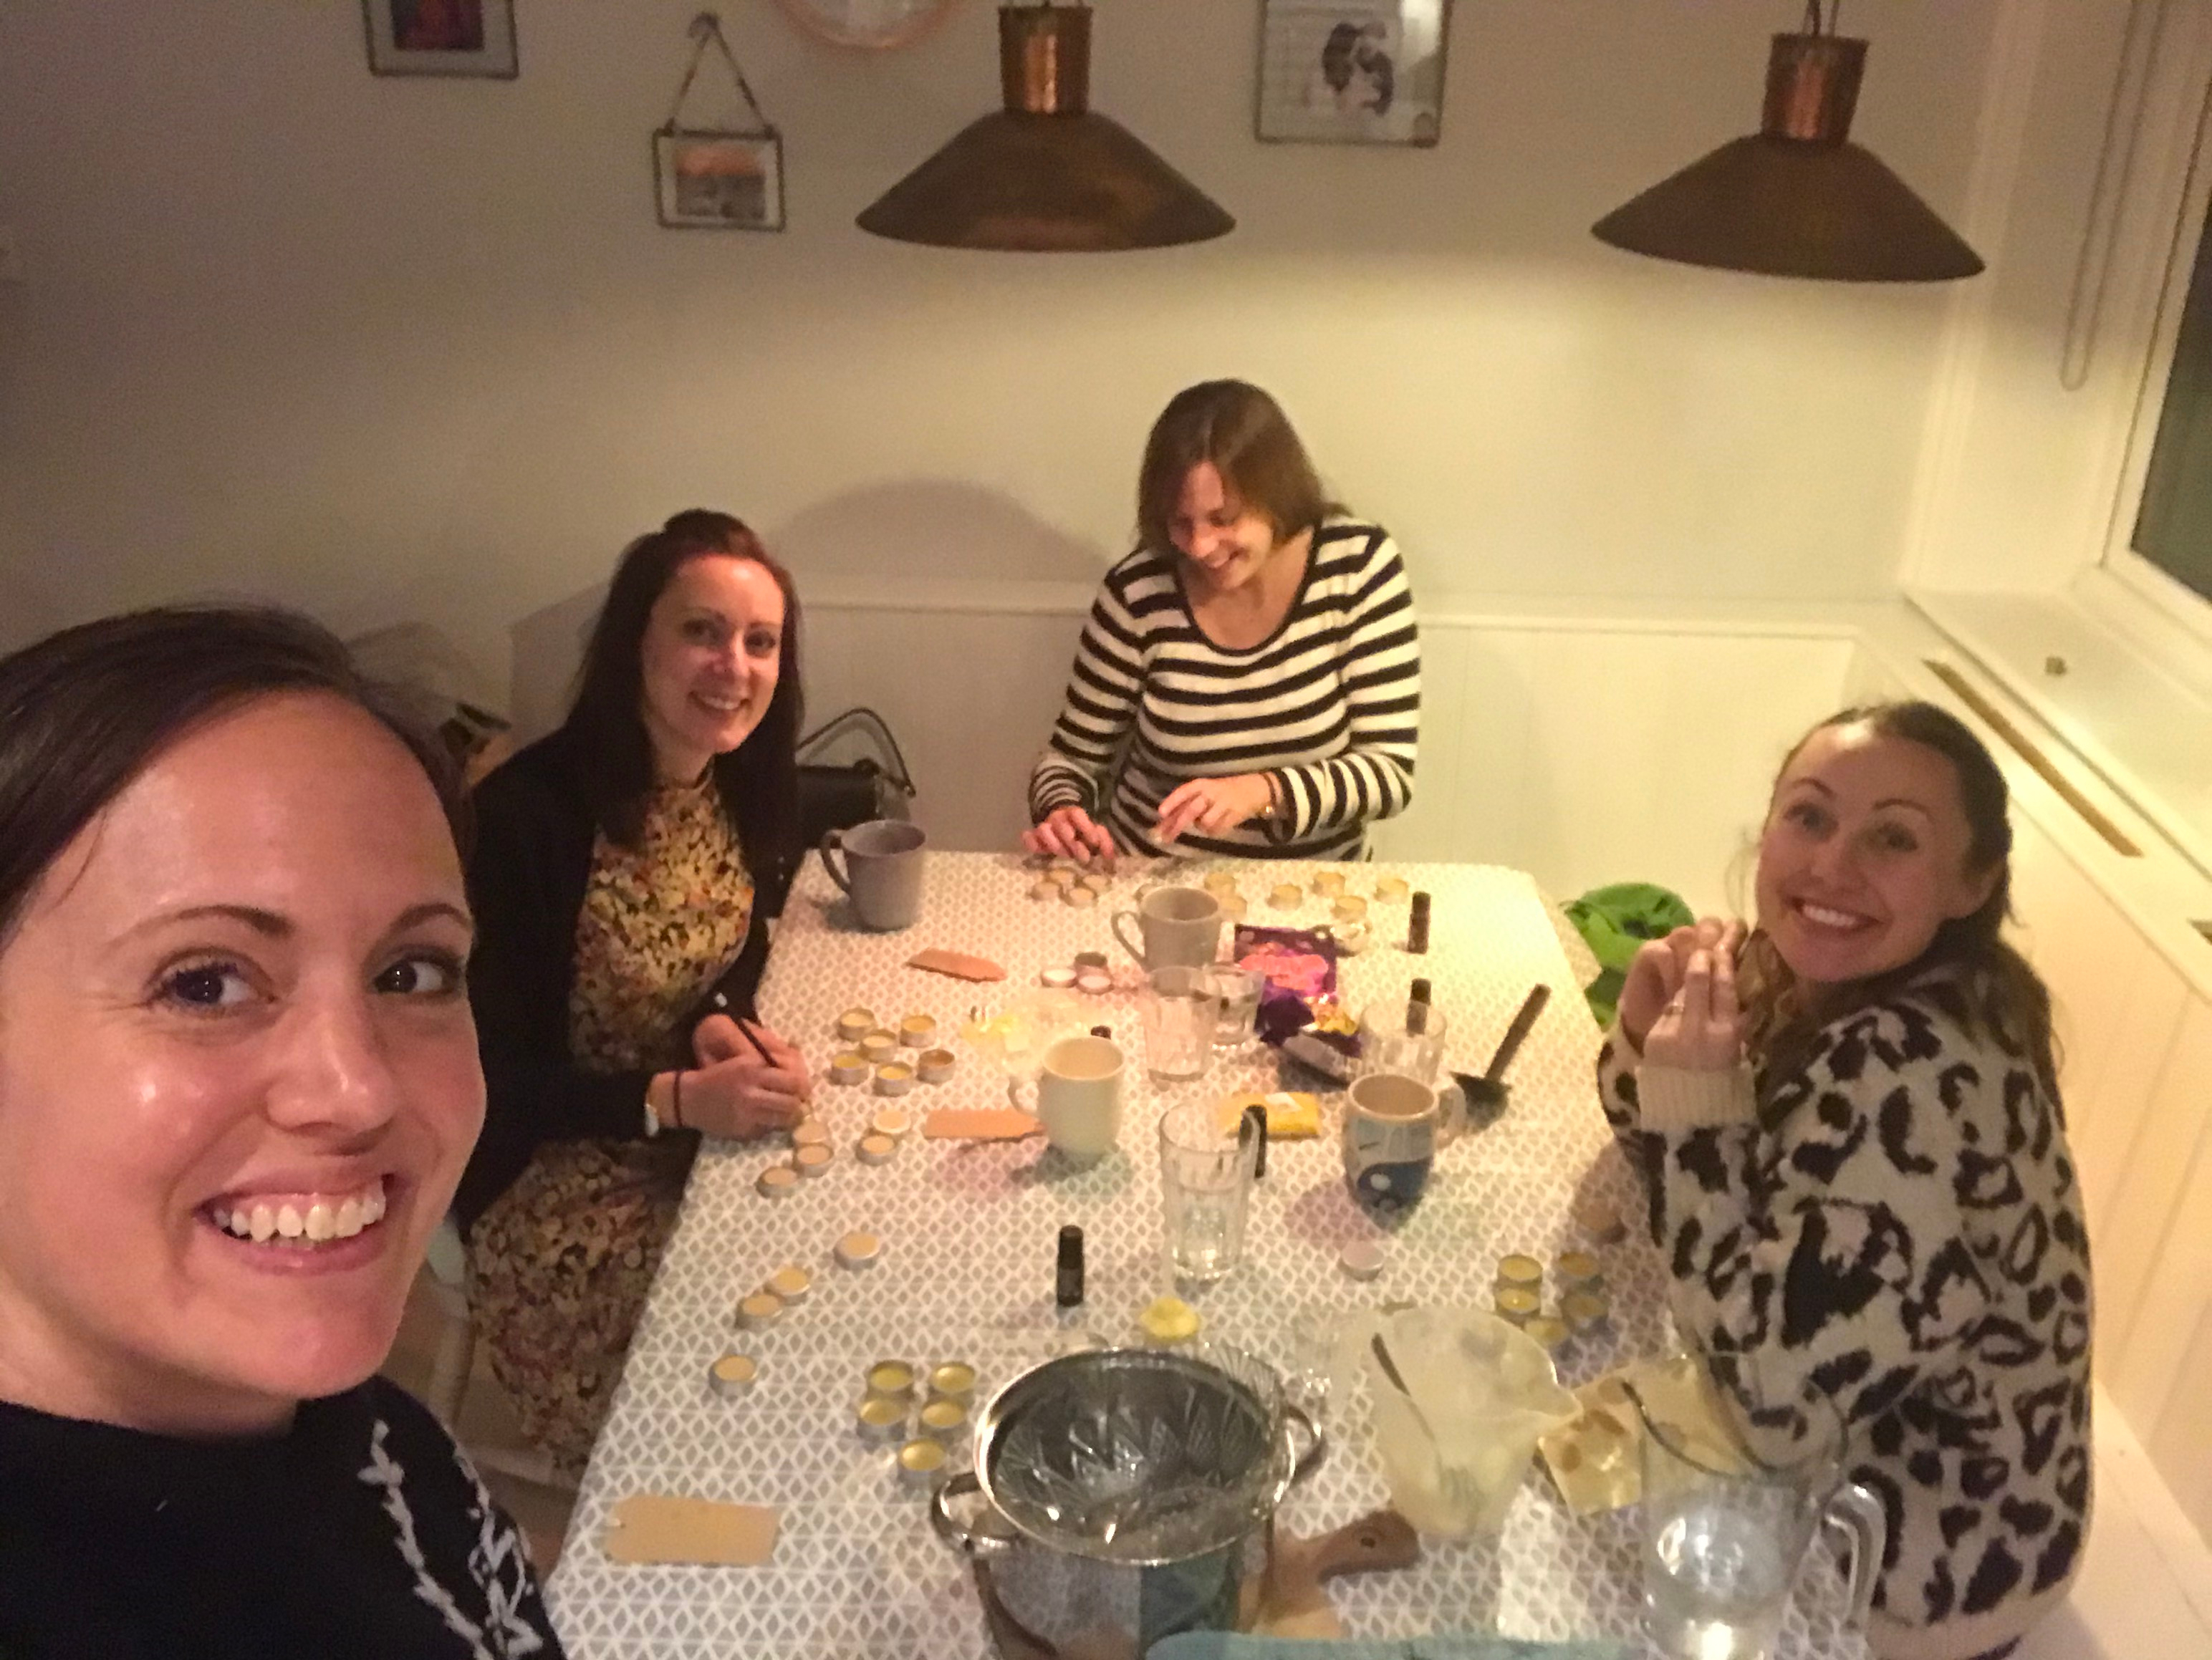
We had 4 people making 6 pots each so we just multiplied everything by 2.5 to get the correct quantities.
My friend recommended that this lip balm is quite firm, so we reduced the beeswax by 10 g | 0.4 oz to make it softer and more supple.
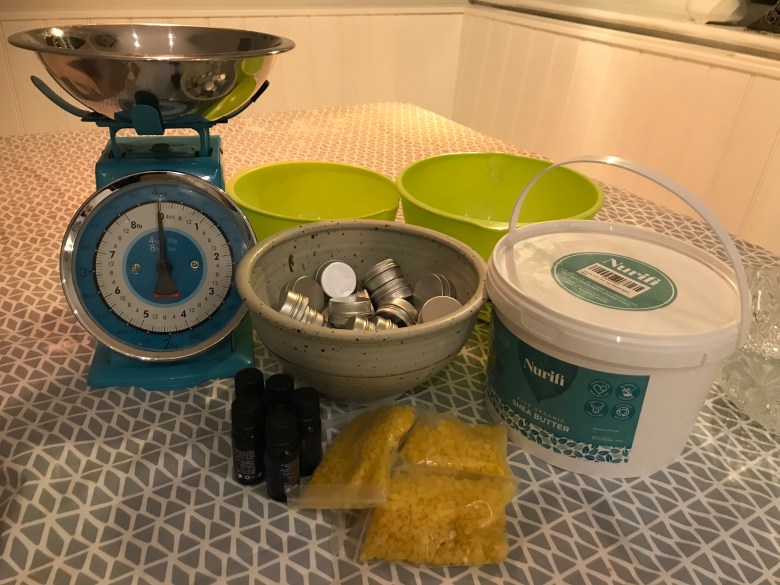
Ingredients
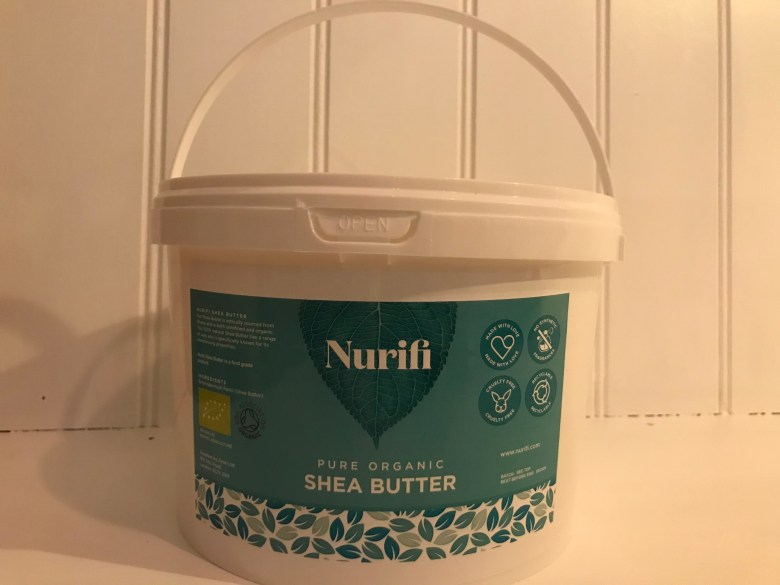

- 50 g | 1.8 oz shea butter
- 50 g | 1.8 oz carrier oil. We used sweet almond oil but any carrier oil is good, such as fractionated coconut oil
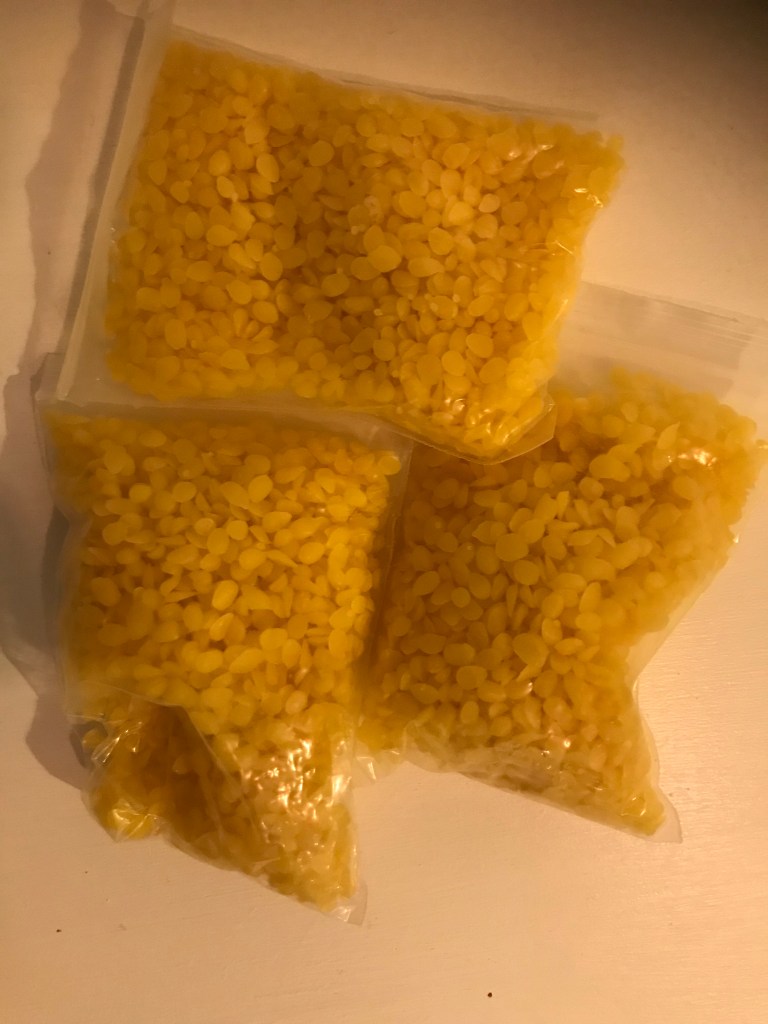
- 30 g | 1.1 oz beeswax
- 20-30 drops of essential oils
- Invite your friends and tell them all to bring mince pies
Choosing the right essential oil
Think about it – what flavour do you like on your lips the most? Strawberry? Mint? Lemon? We tried peppermint and citrus flavours along with lavender and they were bliss.
You will need to scatter quite a few drops in the mixture for it to smell right. Despite being luscious for your lips, the shea butter has quite an off-putting camel smell to it, so you need to sprinkle a fair bit to make it appealing.
You shouldn’t have to spend too much either. Most oils can fit a tight budget and you may have some already have in your collection that would be worth using up beforehand.
Method
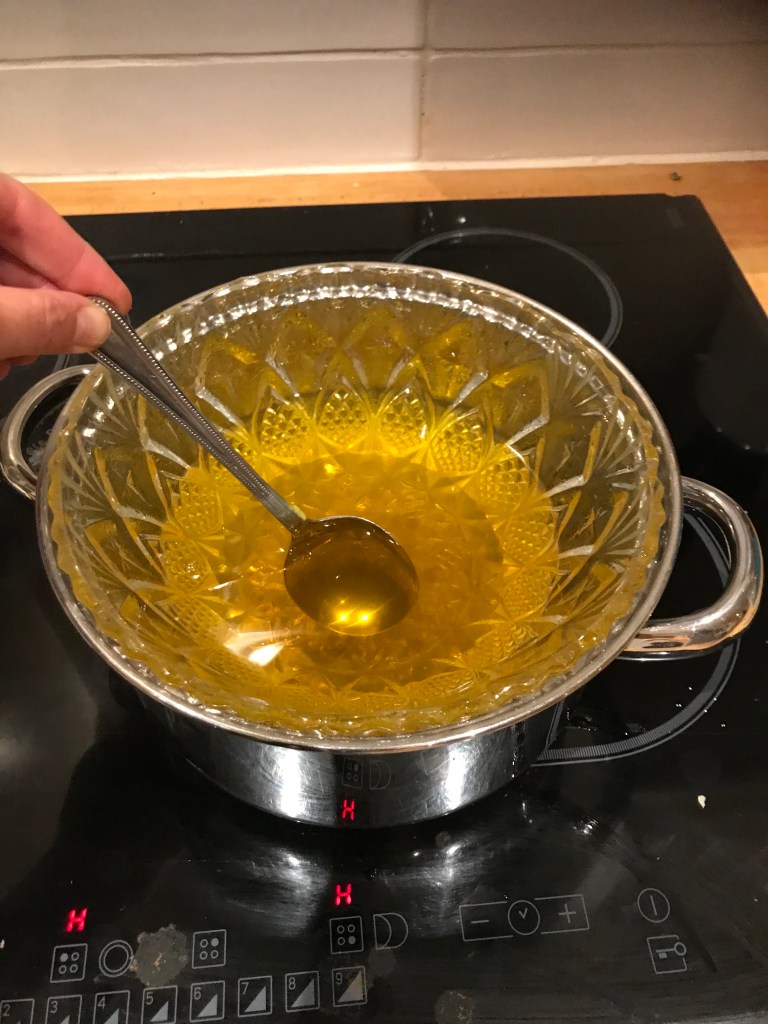
- Put some water in a pan, bring to the boil and the simmer
- Add shea butter, carrier oil and beeswax to a glass bowl over the saucepan and heat until completely melted. (Double boiler method– place bowl on a pot of gently simmering water and stir frequently; Microwave method– heat in short bursts on low, stopping and stirring frequently). Remove from heat.
- Add desired essential oils and mix until combined.
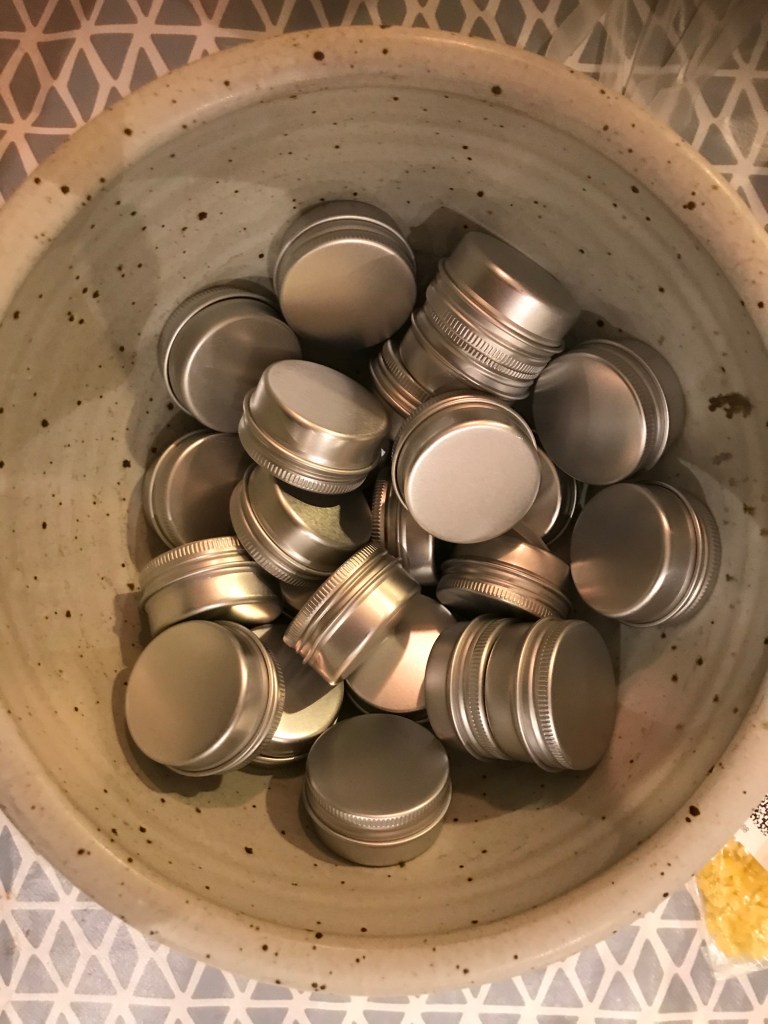
- Transfer into aluminium pots or other containers of choice.
- Place into the fridge or freezer to set (this will reduce the chance of graininess developing over time).
- Meanwhile eat mincepies, gossip, chat and put the world to rights
- Take out pots from fridge, sample, marvel and never make again (jokes) or be inspired to become a DIY beauty queen
Decorating

You can buy stamps to go on the lids of the pots, which is what I did for ease, or you could make your own labels out of paper and card.
We just used ordinary pencils and some calligraphy pens to decorate the lids with the name of the essential oils used and a drawing next to it.
We’re hardly Picasso but I’d like to think our designs were not too shabby.

Carbon footprint
I bought the oils from a health shop, but I will admit I bought the aluminium pots, beeswax and Shea butter online.
I’m consequently feeling very ashamed about it after having to throw away all the packaging used to transport it, but then there would be a footprint if I’d travelled around to find a shop that sold it instead.
The other issue is we should really be refraining from beeswax and honey products for ecological reasons, unless we can ensure it’s collected from ethical and organic sources. So next time I’ll be using candelilla plant wax instead with a slightly tweaked recipe.
The key benefit of DIY lip balms is that these pots are reusable, so you can collect them back afterwards to make more.
Nothing is straight-forward when you try to be more sustainable.
We ultimately need to start consuming much less to make a difference. But the process of wanting to make your own everyday products forces you to learn what ingredients they are made from and how they are produced.
That process is just as important and valuable so we can make better choices in future.
Have you got a DIY product that you like to make? Share it in the comments below.
